
Last updated October 15, 2026
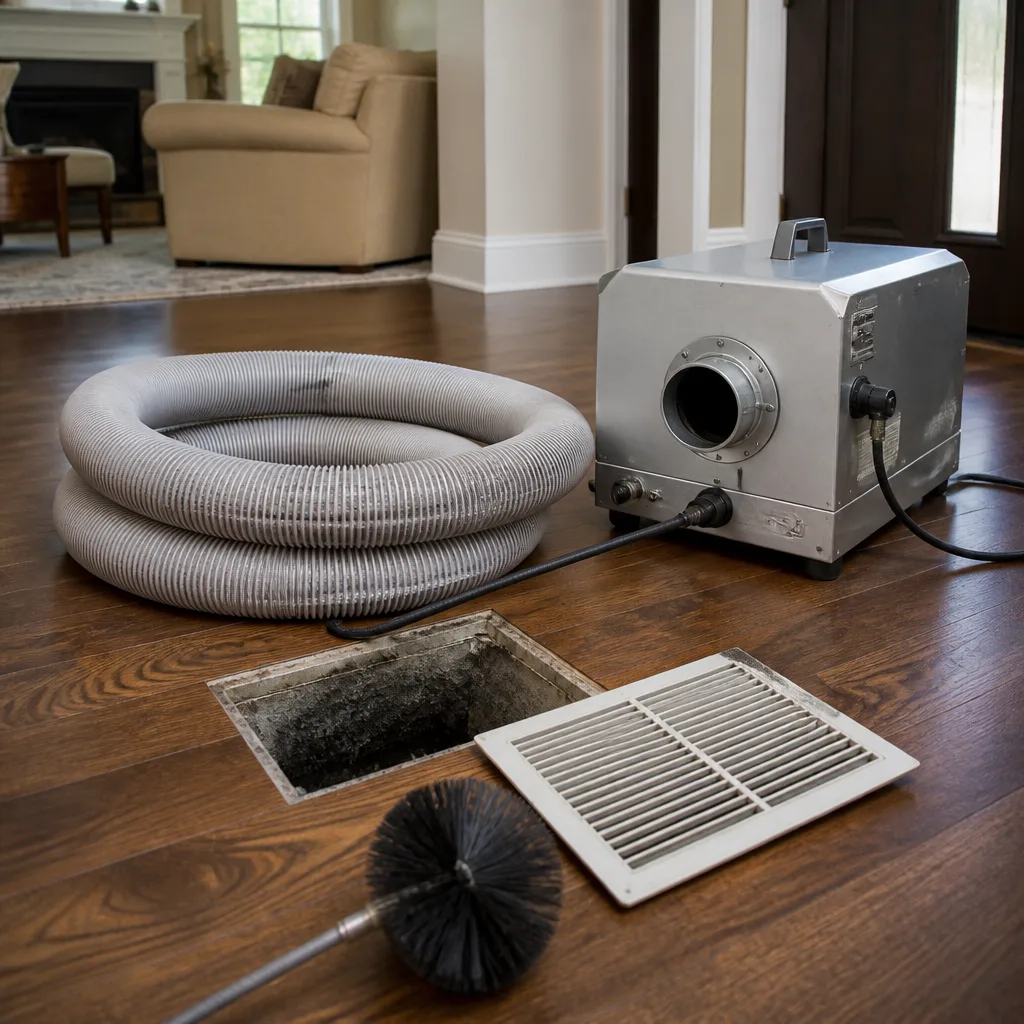 Whole-home duct cleaning
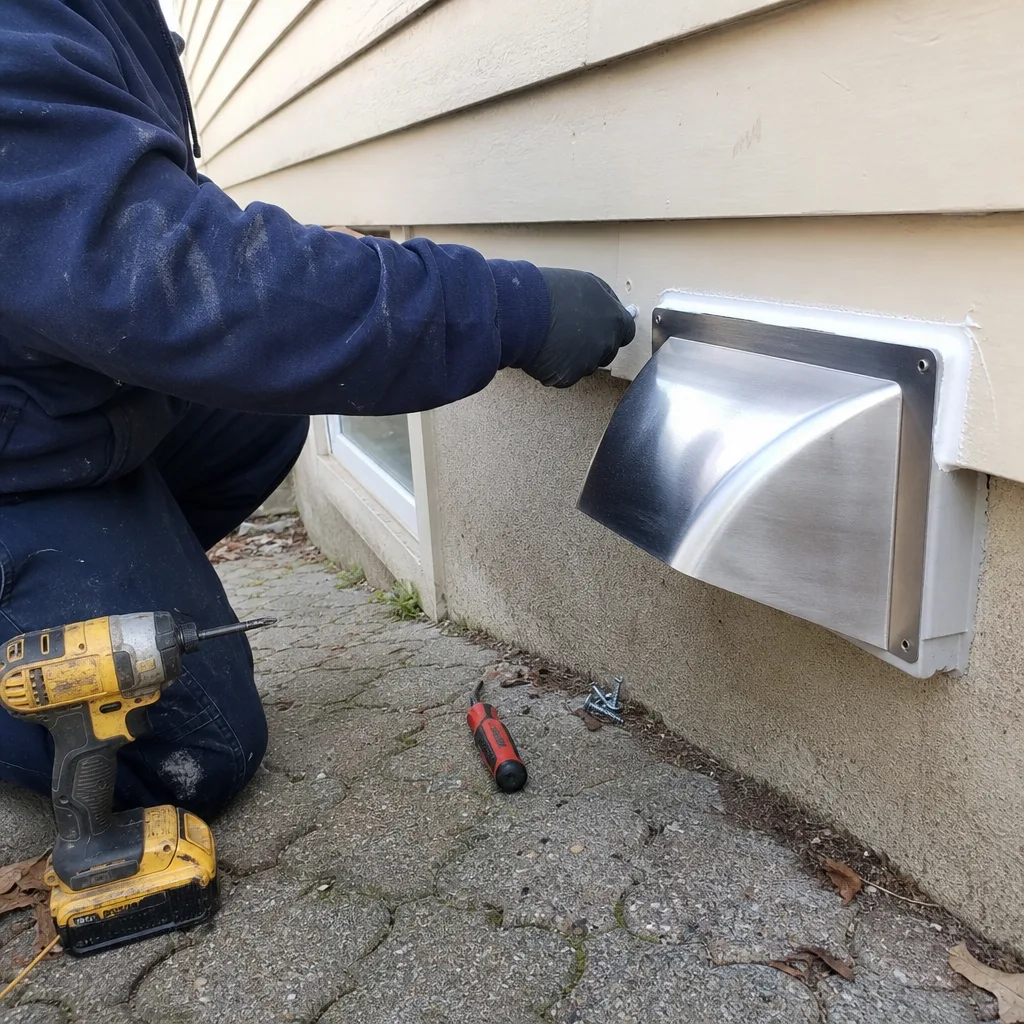
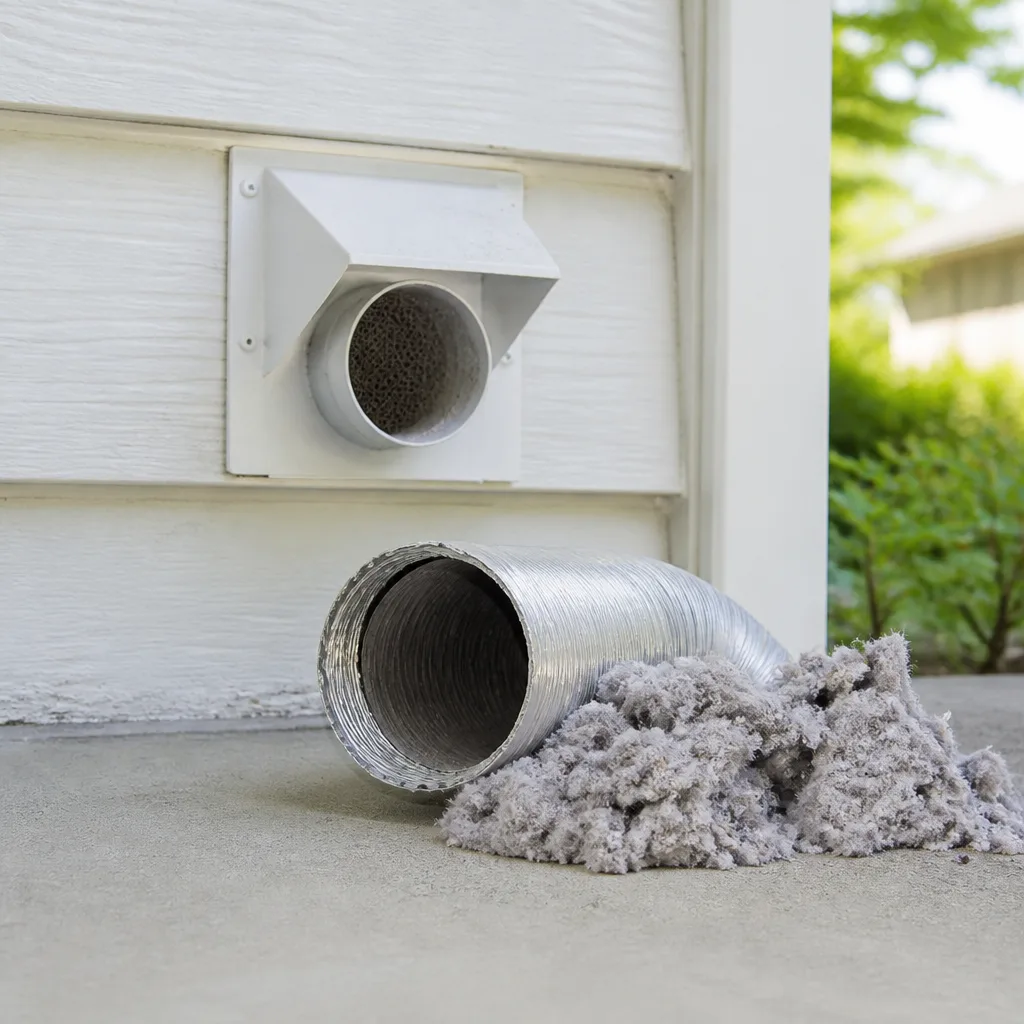 Dryer vent cleaning
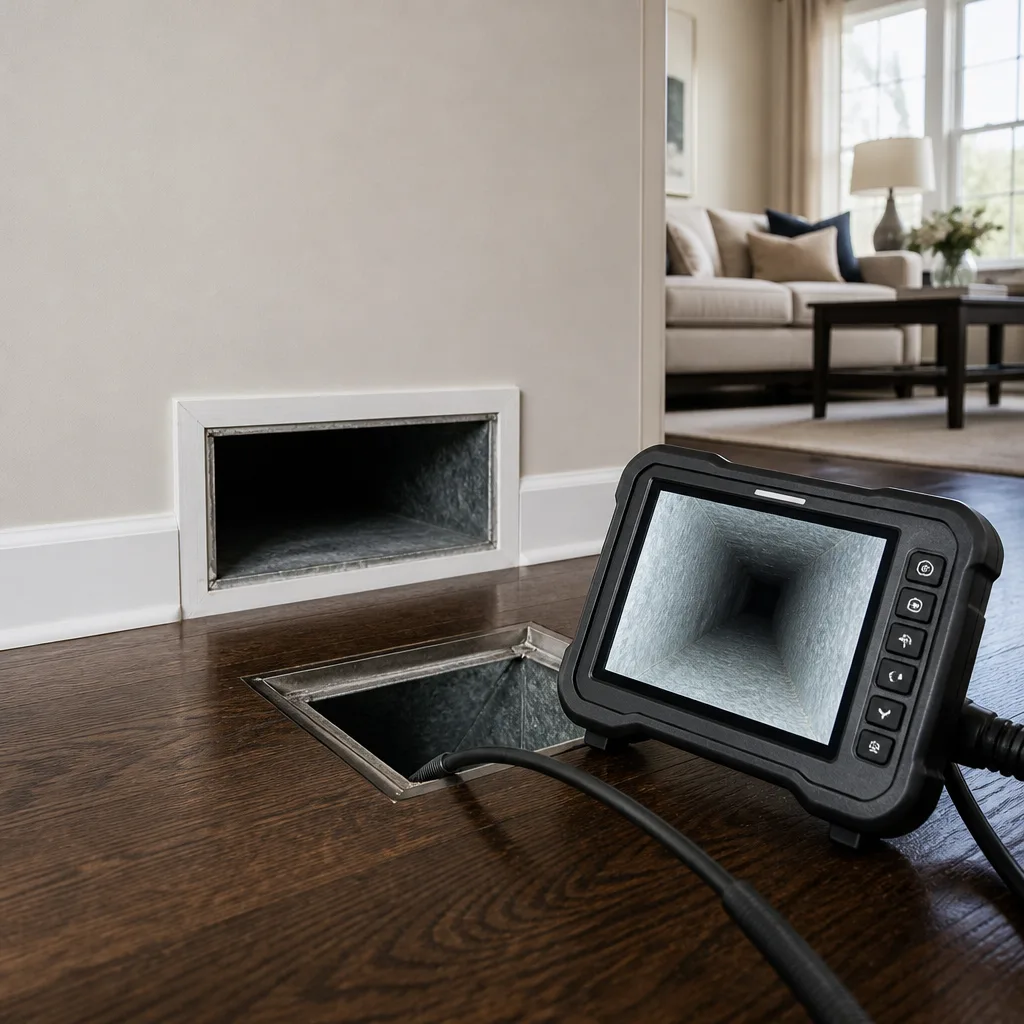 Camera inspection
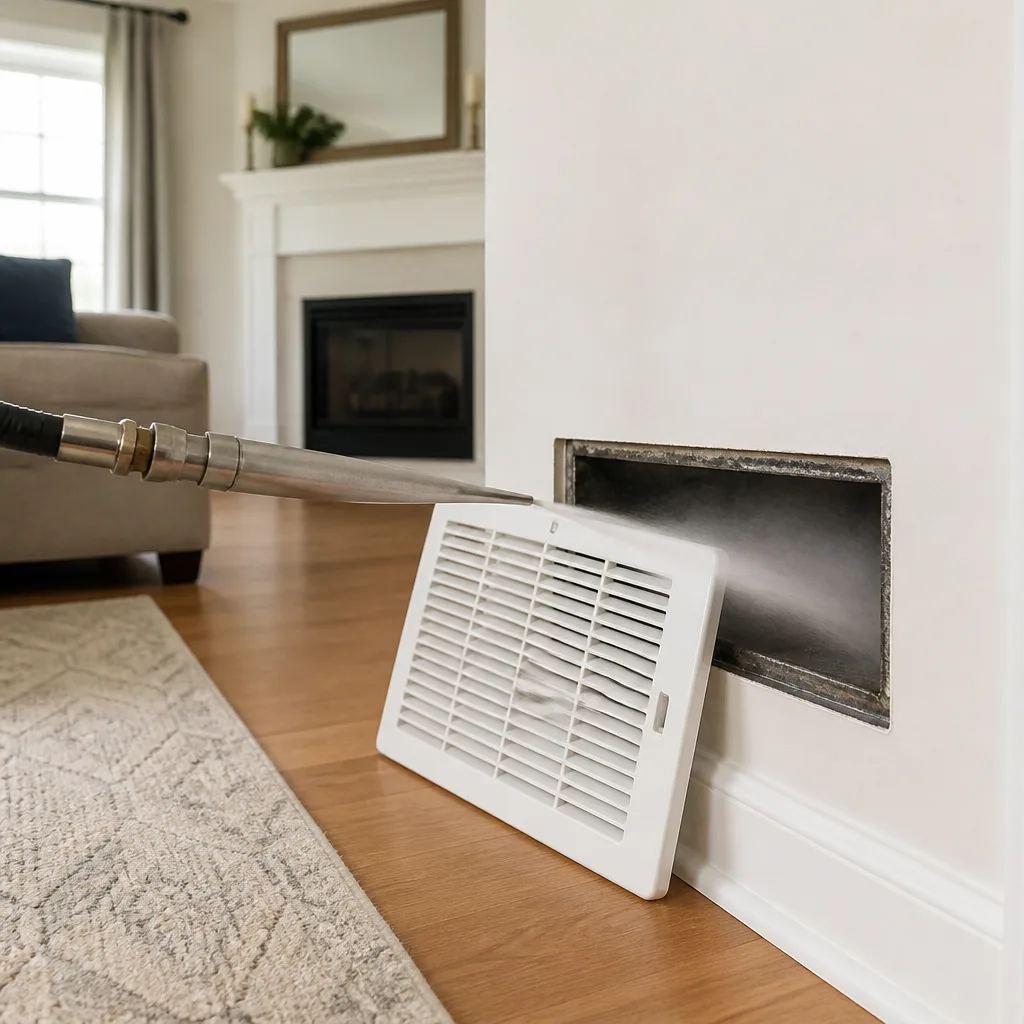 Sanitizing & deodorizing
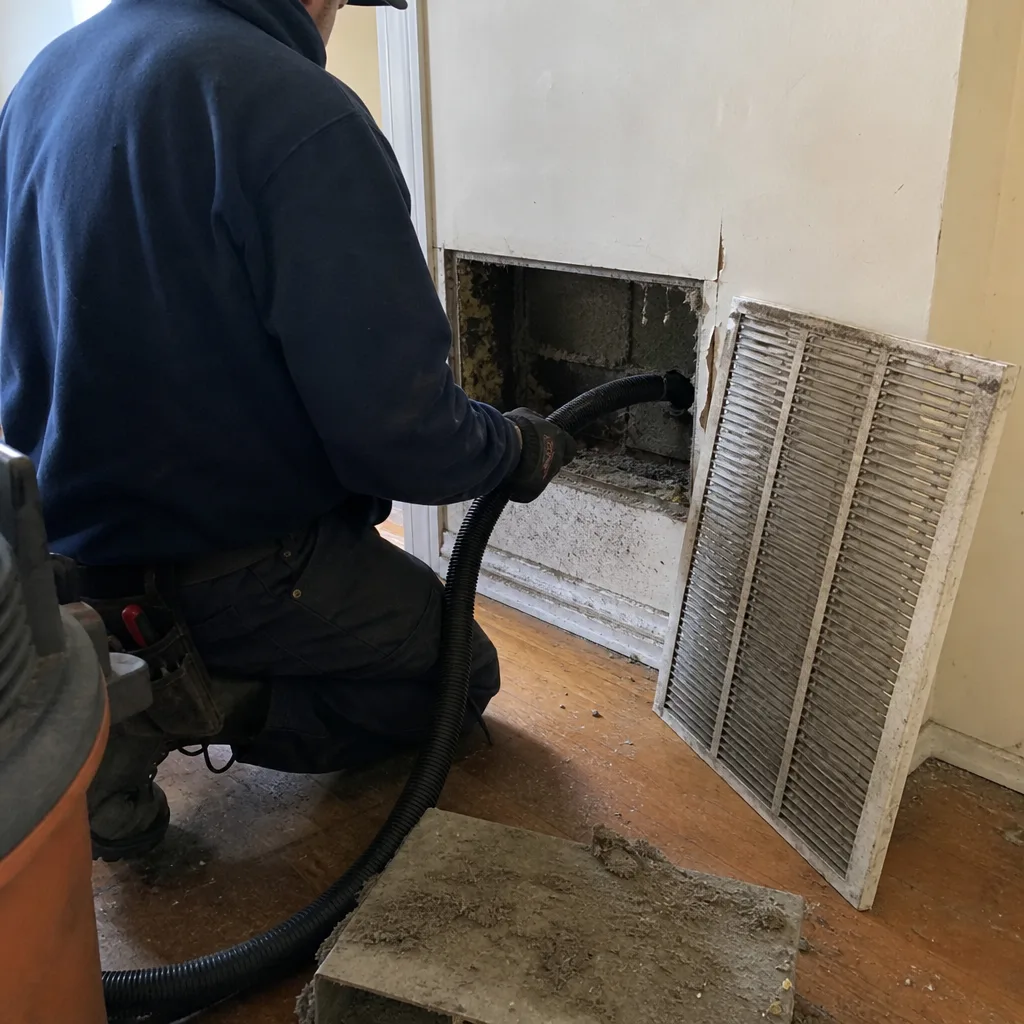
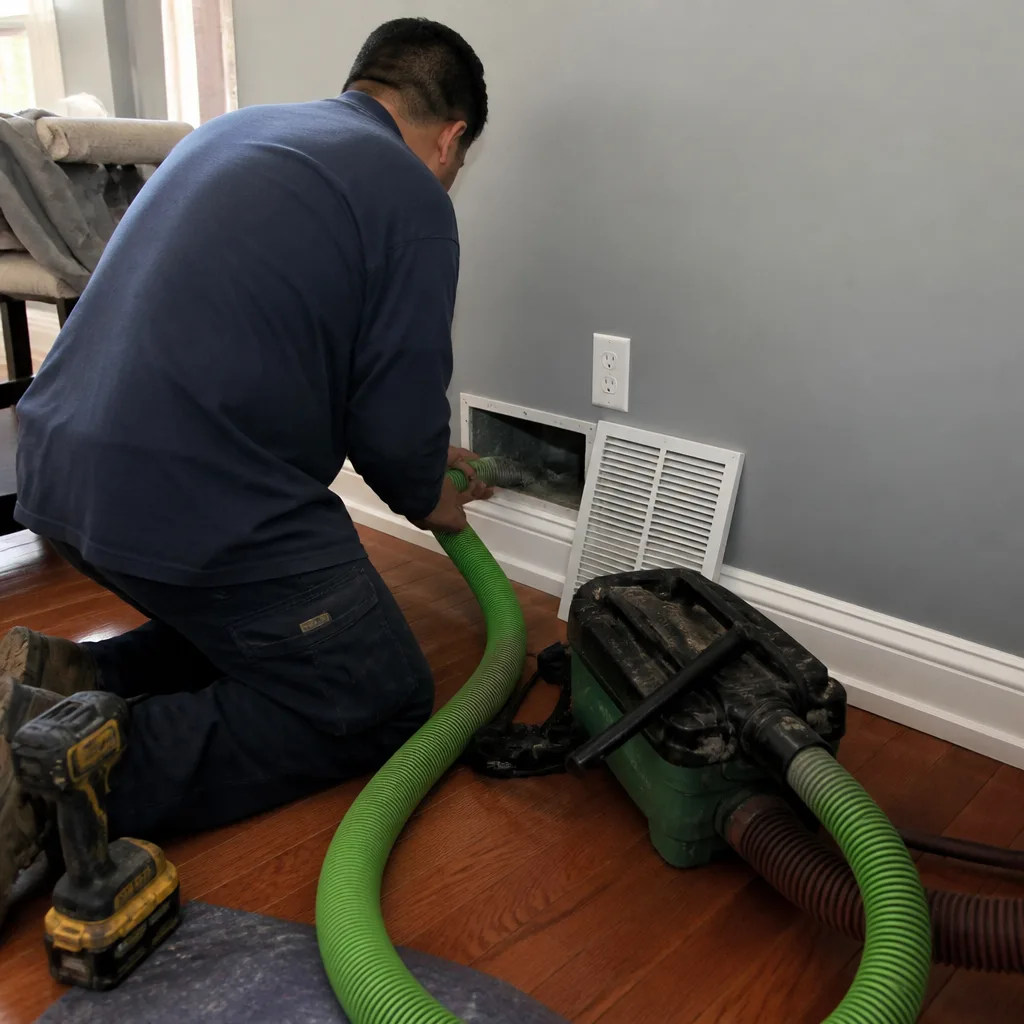
Whole-system duct and dryer vent check with before-and-after photos - you see exactly what came out of your vents
That "$99 whole-house special" is a bait ad - the real number appears once they are in your hallway, or the "clean" is a shop-vac at the register. We photograph the inside of your ducts before and after instead.
DIY vs Professional Air Duct Cleaning: The Queens Homeowner’s Decision Guide
You can rent a high-powered vacuum, buy a dryer vent brush kit, and spend a Saturday cleaning your ducts. You’ll remove some debris, feel productive, and still have 60 to 70 percent of the contamination sitting in the system, because the duct runs you can’t see from the register are where buildup actually concentrates. This guide gives Queens homeowners an honest breakdown of what DIY can realistically accomplish, what it can’t, what professional equipment actually does differently, and how to decide which path makes sense for your home before you spend a dollar on either option. We’ll cover pricing, equipment, the specific risks of older Queens housing stock, and the three questions that settle the debate for most people.
Styles & brands we work with
Quick Answer
For most Queens homeowners, professional air duct cleaning is the better choice because attached housing, older duct systems, and the gap between consumer equipment and commercial negative-pressure systems mean DIY effort rarely removes more than surface debris. DIY works as a partial solution only for a single dryer vent or an accessible bathroom exhaust, while anything involving main duct runs, prewar construction, or post-renovation dust calls for professional equipment. If you can only reach the first few feet of a vent from the register, you’re cleaning the visible part, not the system.
Table of Contents
- What DIY Can Actually Reach in a Queens Duct System
- The Equipment Gap: A $60 Brush Kit vs. Negative-Pressure Extraction
- Queens Housing Scenarios: When DIY Is Reasonable and When It’s False Confidence
- The Real Cost Comparison: DIY vs. Professional in Queens
- The Asbestos and Older Ductwork Question in Queens
- Three Questions That Tell You Which Category You’re In
- What a Professional Cleaning Actually Does, Step by Step
- Common Mistakes to Avoid
- When to Call a Professional
- Frequently Asked Questions
- The Bottom Line
What DIY Can Actually Reach in a Queens Duct System
A typical Queens home has between 10 and 25 linear feet of ductwork per register run, and most of that length is unreachable with consumer tools. What you can physically touch from a register opening is the first 2 to 4 feet of duct before the first bend. Here’s the honest picture, drawn from what we see on service calls across Queens neighborhoods like Forest Hills, Astoria, and Bayside:
- What DIY can reach: the inside of the register boot, the first 2 to 3 feet of straight duct run, the visible portion of a bathroom exhaust fan housing, and the entire length of a short dryer vent (under 6 feet with no more than one bend).
- What DIY cannot reach: the duct runs behind walls and above ceilings, the main trunk line, the return air drop, the plenum above the furnace or air handler, any run longer than 4 feet with bends, and the interior of flex duct that has sagged or kinked over time.
- The concentration problem: In our experience, 60 to 70 percent of the debris in a Queens duct system sits in the main trunk and the return drop, not in the branch runs you can see. The registers collect only what falls out of suspension close to the opening.
- The false-clean problem: A shop vac with a hose attachment will pull loose dust from the first few feet and make the register look clean. The airflow across the rest of the system stays restricted because the buildup that actually reduces airflow is upstream, beyond the first bend.
Queens housing makes this worse. Attached homes, co-ops, and prewar apartment conversions share fire-rated walls, which forces duct runs to take longer, angled paths with more turns than a freestanding house would have. More bends means more dead zones where debris settles, and more dead zones means less of the system is reachable from any single register. A freestanding home in, say, eastern Queens might have a straight trunk line that a determined homeowner can partially access. A co-op unit in Jackson Heights almost never does.
The takeaway is simple: DIY duct cleaning reaches the parts you can see, and those are not the parts that matter. If you want to improve airflow and indoor air quality, you need to clean the trunk, the return, and the full length of the branch runs, and that takes tools a homeowner does not rent by the hour at a hardware store.
The Equipment Gap: A $60 Brush Kit vs. Negative-Pressure Extraction
Here is the concrete difference between what a consumer brush kit does and what professional equipment does. It’s not a small gap in effort; it’s a gap in mechanism. Understanding this is the key to understanding the entire DIY versus professional question.
What a $60 brush kit and shop vac do: A flexible rod with a round brush on the end extends down a duct run from the register opening. The brush spins or scrapes loose debris from the duct walls. The shop vac, positioned at the register, pulls whatever debris falls or floats toward the opening. What actually happens in practice: the brush knocks debris loose in the first few feet, some of it gets vacuumed, and some of it gets pushed further down the duct, past the reach of both the brush and the vacuum, where it settles again.
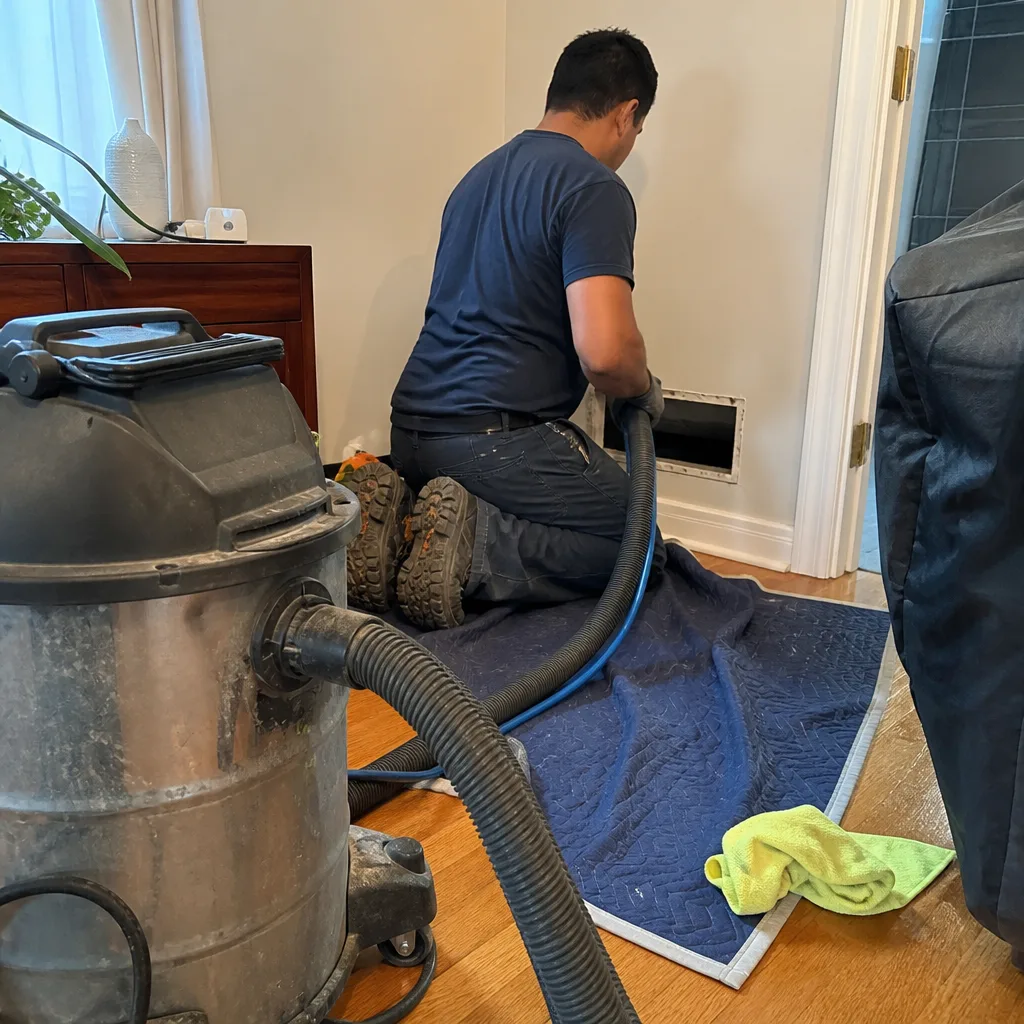
What negative-pressure extraction does: Professional cleaning uses a high-powered vacuum connected to the duct system to put the entire system under negative pressure. In simple terms, the system is sealed and a vacuum pulls air through every run, from every register, toward a central collection point. A rotating brush is then fed through each run to agitate debris off the walls, and the negative pressure pulls that debris out of the system entirely. The tool brands we run, including Rotobrush and Nikro equipment, are built around this principle: agitate, suspend, extract. Debris doesn’t get pushed somewhere else; it leaves the system and goes into a HEPA-filtered collection unit.
The HEPA difference: A shop vac without a HEPA filter will exhaust the smallest particles back into the room you’re cleaning. A professional system with HEPA filtration captures particles down to 0.3 microns, which is the size range of mold spores, fine construction dust, and the particulate that triggers allergies and asthma. If you’re cleaning ducts in Queens because someone in the home has respiratory symptoms, using a non-HEPA vacuum is arguably worse than not cleaning at all; you’re aerosolizing the fine fraction of the debris.
Agitation depth: A consumer brush kit agitates the surface of the duct wall. A professional rotary brush, spun by an electric or pneumatic motor, agitates with enough force to break up the compacted layers of dust, pet dander, and cooking grease that build up over years in a kitchen-adjacent duct run. In Queens apartments where the kitchen exhaust ties into the building’s system or where a previous owner fried food weekly for a decade, that buildup is packed and hard, not fluffy, and it will not come off with a hand-spun brush.
Compressed air and air whips: Many professional jobs include air sweeps or air whips, tools that use compressed air to dislodge debris from the full interior circumference of the duct. A brush only contacts the bottom and sides of a round duct; an air whip reaches the top, where the fine, sticky dust hangs on. This is the difference between a partial clean and a complete clean, and it’s one of the main reasons homeowners tell us they were surprised at how much material came out of ducts they thought they’d already cleaned.
Queens Housing Scenarios: When DIY Is Reasonable and When It’s False Confidence
Queens is not one housing market. It’s a patchwork of detached single-family homes, semi-attached brick houses, co-ops, condos, rental buildings, and apartment conversions. The DIY decision looks very different in a single-family home in Bellerose than it does in a prewar co-op in Forest Hills. Here’s the honest read on each scenario.
Scenario 1: Single detached home with a short, straight dryer vent
If your dryer vent runs 6 feet or less, with one bend or none, and the exit is accessible from the outside or from a basement ceiling, DIY is a reasonable partial solution. You can buy a dryer vent brush kit for under $40, run it through from both ends, and remove a significant portion of the lint. We recommend doing this twice a year, and we recommend confirming by looking at the exterior vent flap while the dryer runs; if the flap opens fully and the airflow is strong, you’ve done the job. What DIY does not do here is clean the interior of the dryer itself or remove the compacted lint at the interior lint trap bypass, which is a bend inside many dryers where lint bypasses the screen over time. That’s a service call, not a brush kit job. See our Dryer Vent Cleaning in Queens page for the difference.
Scenario 2: Co-op or condo unit with shared or long duct runs
DIY is essentially not an option here, and not because anyone wants to charge you money. It’s because the duct run from your register to the building’s main riser may be 15 to 30 feet, with multiple bends, and you cannot physically reach more than the first few feet. Worse, in many Queens co-ops, your unit’s ductwork is partly or fully the building’s property, and doing the wrong thing inside it can create a liability problem with your board or management company. Any time the duct run leaves your unit’s walls, you need a professional, both for reach and for responsibility.
Scenario 3: Prewar apartment or converted house with original ducts
This is the scenario where DIY creates false confidence and, sometimes, actual harm. Original ductwork in Queens prewar buildings is often wrapped in asbestos insulation or made of materials that do not tolerate aggressive brushing. Disturbing that insulation with a consumer brush and then running the system can release fibers into your living space. We cover this more in the asbestos section below. For now: if your home was built before roughly 1980 and the ducts are original, do not DIY. Full stop.
Scenario 4: Post-renovation dust in a single-family home
After a kitchen renovation or floor sanding, fine dust settles into every duct in the house. A homeowner with a good shop vac and patience can clean the visible register boots and reduce the amount of dust that recirculates. What they cannot do is remove the fine dust from the blower motor, the coil, the return drop, and the trunk. That dust will keep blowing out of the registers for weeks after the renovation. This is one of the most common calls we get: a homeowner spent two weekends cleaning registers and still has dust on every surface. The problem is that the dust is in the part of the system they can’t reach, not in the part they can.
Scenario 5: Bathroom exhaust fan and a single accessible register
A bathroom exhaust fan is a small, self-contained duct run that a careful homeowner can clean with a brush and a vacuum. Remove the cover, vacuum the housing, brush the duct if it’s short, and you’ve done a meaningful job. A single accessible register from a short run, like a floor register in a bedroom over an unfinished basement, is the same story. You can clean that one run end to end. The problem is that almost no Queens home has only one register; the moment you have five, eight, twelve registers, the ones you can’t reach outnumber the ones you can.
The pattern here: DIY is reasonable when the run is short, straight, and fully accessible, and when the material is modern and intact. It’s not reasonable when the run is long, bent, shared, original, or insulated with anything you don’t recognize. Most Queens homes fall into the second category. For a full picture of what a professional cleaning covers, see our Air Duct Cleaning in Queens page.
The Real Cost Comparison: DIY vs. Professional in Queens
Let’s put numbers on it. The cheapest path is not always the one that costs the least, and the DIY path has hidden costs that rarely show up in the math people do before they start.
DIY costs for a typical Queens home:
- Dryer vent brush kit: $25 to $45 at a Queens hardware store or online.
- Flexible duct brush rods, 10 to 15 feet: $30 to $60.
- Shop vac rental or purchase: $40 to $80 for a weekend rental, or $80 to $150 to buy a mid-size unit. Note that most rental shop vacs are not HEPA-filtered.
- HEPA filter for your shop vac: $30 to $60, and it has to fit your model.
- Basic PPE (gloves, N95 mask, eye protection): $20 to $35.
- Total out-of-pocket: $145 to $380, plus a full day of your time.
Professional costs in Queens:
- Whole-home air duct cleaning for a typical Queens single-family home (up to 10 vents): most quotes fall in the $350 to $600 range, depending on system size and accessibility.
- Whole-home cleaning for a co-op or condo unit: typically $250 to $450, based on fewer vents and shorter runs.
- Dryer vent cleaning alone: typically $100 to $175.
- The price is put in writing before any work begins, so there is no scenario where a homeowner finds out the real number at the end.
The comparison that matters is not $300 versus $450. It’s $300 plus a day of your time, a rented vacuum that may aerosolize fine dust, partial cleaning that leaves most of the system untouched, and no recourse if anything goes wrong, versus a written price, a complete extraction, and a written guarantee if the work falls short. Every professional job we do at Linden Air Duct Queens comes with a 365-Day Done Right Promise: if the work is not right, we make it right, backed in writing on every job. That’s a number worth putting in the spreadsheet.
The Asbestos and Older Ductwork Question in Queens
This is the section most DIY guides skip, and for Queens it’s the one that matters most. Prewar construction is a defining feature of the borough’s housing stock, and prewar construction is exactly where you find asbestos-wrapped ducts.
Homes and apartment buildings built before roughly 1980, and especially before 1950, often have ductwork insulated with asbestos-containing material. The insulation looks like white or gray paper or fibrous wrap around the outside of the duct, particularly at joints and elbows. It’s not dangerous if it’s intact and undisturbed. It becomes dangerous when it’s disturbed, which is exactly what happens when a homeowner feeds a spinning brush down a duct run that they can’t see.
The specific risks for a DIY cleaning in a prewar Queens home:
- Asbestos fiber release: A brush scraping against friable asbestos insulation can release fibers into the air stream. The system then circulates those fibers through every room when the heat or AC kicks on.
- Damage to aging duct material: Prewar ducts are often made of thinner galvanized steel or, in some conversions, a mix of materials that have been patched over decades. A stiff brush can separate a joint, tear a tape patch, or puncture a rusted section.
- Homeowner insurance implications: If a DIY duct cleaning damages original ductwork or disturbs asbestos insulation that then requires abatement, many homeowners policies will not cover the cleanup and repair because the damage was caused by an unlicensed person doing work the policy would consider maintenance or a known risk. The abatement bill can run into thousands of dollars. This is not a theoretical concern in Queens; it’s a conversation we have with homeowners in neighborhoods like Kew Gardens and Sunnyside every month.
A professional who works in Queens prewar buildings all year knows what that insulation looks like, what to do when it’s present, and when the right answer is to stop and advise you before anything is disturbed. We’ve been doing this work in the borough since 2004, and the first thing we do on any older home is check the visible ductwork before any tool goes in. If we see anything that looks like asbestos wrap, the cleaning stops and you get an honest conversation about what needs to happen next. DIY guides don’t prepare you for that; a professional’s experience does.
We also work with air-quality products from Abatement Technologies, which makes containment and filtration equipment used when hazardous material is a concern. That’s not gear a homeowner can rent at a hardware store, and it’s not gear you want to improvise.
Three Questions That Tell You Which Category You’re In
Before spending money on a brush kit or calling for a quote, answer these three questions honestly. They will put you in one camp or the other in under five minutes.
- Can I see the entire duct run from one end to the other? If you can follow the duct with your eyes from register to register, or from dryer to exterior vent, without a single section disappearing behind a wall, a ceiling, or a floor, DIY may be a reasonable partial solution. If any part of the run is hidden, the buildup that matters is in the hidden part, and a brush can’t reach it.
- How old is the building, and are the ducts original? If the building predates 1980 and the ductwork is original, do not DIY. The asbestos and brittle-duct risks outweigh every benefit, and the cost of getting it wrong can be measured in thousands of dollars. Even if the ducts are newer but the building is old, have a professional check the visible portions before anyone sticks a tool inside.
- Am I trying to solve a symptom, or clean a system? If you’re chasing a specific symptom, dust on surfaces after renovations, a dryer that takes two cycles to dry towels, a musty smell from the vents, a specific allergy trigger, those symptoms come from the parts of the system you can’t reach. DIY will make the visible part look better and leave the symptom untouched. That’s the false-confidence trap. If you just want to knock visible dust off the register boots, DIY is fine and no one should tell you otherwise.
Here’s the shorthand: if you answered “no” to question 1, “pre-1980 and original” to question 2, or named a symptom in question 3, you’re a professional-cleaning candidate. If you answered “yes” to question 1, “newer ducts” to question 2, and “just visible dust” to question 3, a careful DIY session is reasonable.
What a Professional Cleaning Actually Does, Step by Step
One reason the DIY decision feels murky is that most people don’t know what a professional cleaning actually involves. Here’s the process we follow at Linden Air Duct Queens, written plainly so you know exactly what you’re paying for.
- System inspection: The tech walks the system before any tool is connected. This includes checking the furnace or air handler, the return drop, the visible trunk sections, and the register boots. On older Queens homes, this is where asbestos wrap or damaged sections get flagged.
- Written price and scope confirmation: The price is put in writing before any work begins. You know the number, the vents covered, and what the job includes. No surprise invoice at the end. Every time.
- Area protection: Drop cloths or floor protection go down at the work area. The tech, background-checked, identity-verified, and in a clean marked uniform, knows what surfaces around a Queens register look like and treats them accordingly.
- Negative-pressure setup: A high-powered vacuum unit connects to the system, typically at the furnace or air handler, and seals the system so that air is pulled through every run toward the collection point. The system is now under negative pressure; nothing escapes into the living space.
- Agitation and extraction: Each run is cleaned from the register end. A rotary brush or air whip agitates the duct walls from the inside while the negative pressure pulls loosened debris out and into the HEPA-filtered collection unit. This is the step where the packed, greasy buildup in a kitchen-adjacent run finally lets go.
- Return and trunk cleaning: The return air drop and main trunk, where most of the debris in a Queens system actually sits, get the same agitation and extraction. This is the part DIY never touches.
- Blower and coil check: If accessible, the blower motor and evaporator coil are inspected for buildup. A dirty coil reduces system efficiency and can spread moisture into the ducts; a clean duct system with a dirty coil is half a job.
- Final walkthrough: The tech walks you through what was done, shows before-and-after photos of your own ducts, and covers the written 365-Day Done Right Promise. If anything is not right, we make it right, in writing.
That’s the gap, in concrete terms: DIY cleans the first few feet of a few branch runs. A professional cleaning cleans the branch runs, the trunk, the return, and the equipment, under negative pressure, with HEPA filtration, with a written price and a written guarantee. For most Queens homes, the difference shows up in the airflow and the dust level within a week.
Common Mistakes to Avoid
- Cleaning only the registers and calling it done. The register boot is the last inch of the run. Cleaning it changes almost nothing about the system. You’ve cleaned the doormat, not the hallway.
- Using a non-HEPA shop vac for duct work. A standard shop vac exhausts fine particles back into the room. In a closed Queens apartment, that’s more concentrated than before you started.
- Assuming all duct cleaning companies charge per vent. Some companies advertise a low per-vent price and then bill you for more vents, supply and return separately, and other add-ons. The realistic whole-system price for a Queens home is the $350 to $600 range we described above. If a quote looks too low to be a whole-system job, it probably isn’t one. We put one flat price per system in writing before any work starts, and that’s the number you pay at the end.
- Disturbing suspect insulation in a prewar building. Asbestos-wrapped ducts are common in Queens prewar construction, and disturbing that wrap with a brush is how a $60 DIY job becomes a $4,000 abatement problem. If you see fibrous wrap around ducts, stop and call someone who knows what it is.
- Cleaning ducts without addressing the source of the debris. If you have a leaking return pulling attic air, a torn filter, or a dryer vent that’s separated inside the wall, cleaning the ducts without fixing the source means the problem comes back in months. A professional inspection catches this; a brush kit doesn’t.
- Assuming a co-op board allows DIY duct access. In many Queens co-ops, the ductwork is building property, and opening walls or access panels to reach it is a violation of your proprietary lease. The cost of a fine or board action is more than a professional cleaning would have been.
- Skipping the dryer vent because “the dryer still works.” A dryer that takes 60 minutes to dry a load is working harder, running hotter, and building lint in the parts of the vent you can’t see. In attached Queens homes, a lint fire is a building-wide risk, not a single-unit one. Dryer vent cleaning in Queens is one of the highest-value maintenance items a homeowner can buy.
When to Call a Professional
Call a professional when the duct run is hidden, the building is prewar, the system is showing a symptom, or the last thing you want is to spend a Saturday learning that your ducts are worse than you thought. Specifically: after a renovation, when you smell mustiness from the vents, when the dryer takes two cycles, when someone in the house has new or worsening allergies, or when you can see visible dust blowing from registers. If the ducts are original to a pre-1980 building, call before you touch anything. If you’re not sure which category you’re in, a conversation costs nothing. Linden Air Duct Queens offers free estimates for homeowners throughout Queens, and a live person answers the phone 24/7 at (845) 237-0925. You’ll speak to a person, not a menu.
Frequently Asked Questions
Whole-home air duct cleaning in Queens typically costs between $350 and $600 for a single-family home with up to 10 vents, and $250 to $450 for a co-op or condo unit. Dryer vent cleaning runs $100 to $175. The price is put in writing before the work begins, so the number you approve is the number you pay. Call (845) 237-0925 for a free estimate for your specific system.
You can clean the first few feet of a register run with a vacuum and brush, but you cannot reach the main trunk, the return drop, or any run longer than a few feet with bends. Most of the debris in a Queens duct system sits in the parts you can’t reach, so DIY cleaning removes surface dust while leaving the system’s actual restriction in place. If your run is short, straight, and fully visible, DIY can be a reasonable partial solution; if not, it’s false confidence.
In prewar Queens homes, DIY duct cleaning can disturb asbestos insulation on original ductwork, which is a serious health risk and a potential insurance problem. Ducts from before roughly 1980 should not be brushed by a homeowner using consumer tools. A professional who works in Queens prewar buildings knows how to spot asbestos wrap before any tool goes into the system.
Some companies quote a low per-vent price and then add charges for supply and return vents separately, extra runs, or “deep cleaning” upgrades once the job starts. The realistic whole-system price for a Queens home is the $350 to $600 range. If a quote is far below that for a whole-home job, it’s worth asking exactly what the price includes in writing. We give one flat price per system, in writing, before any work starts, and that’s the number you pay at the end.
Ask for before-and-after photos of your own ducts, not stock photos of someone else’s system. A professional job should include a final walkthrough where the tech shows you the extraction unit, the debris removed, and the condition of the trunk and return. Every Linden Air Duct Queens job includes before-and-after photos and a written 365-Day Done Right Promise: if the work is not right, we make it right. Call (845) 237-0925 to ask what that covers.
Most Queens homes need professional air duct cleaning every 3 to 5 years, more often if you have pets that shed heavily, have done recent renovation work, or live near construction. Dryer vents need cleaning annually. The timing depends on your system and your household, not on a calendar, and a visual inspection tells you more than a schedule does. See our Air Duct Cleaning in Queens page for the factors that shorten or stretch that window.
Air duct cleaning removes debris from the inside of the duct system. Air duct repair fixes the system itself: separated joints, crushed flex duct, rusted sections, disconnected runs. The two often go together; a cleaning reveals problems that need repair, and a repair job is never complete until the system is clean. Every repair we do carries a written guarantee and a free second visit if the repair does not hold. Learn more on our Air Duct Repair in Queens page.
The Bottom Line
The DIY versus professional duct cleaning debate has a clear answer for most Queens homes: professional wins, not because DIY is impossible, but because the geometry of the borough’s housing makes DIY reach too short to matter. Attached homes with long, bent runs, prewar buildings with original and possibly asbestos-wrapped ducts, and the concentration of debris in the trunk and return mean that a weekend with a brush kit cleans the visible part of the system and leaves the actual problem untouched. DIY has its place: a short dryer vent, a bathroom exhaust, a single accessible register. For everything else, the math favors a written price, a complete negative-pressure extraction, and a written guarantee. If you’re in Queens and want an honest read on your system, start at our Linden Air Duct Queens home page or call (845) 237-0925. A person answers, every time.
Written by Marcus Veale, Owner at Linden Air Duct Queens, serving Queens since 2004.
See the difference
 Before
 After
After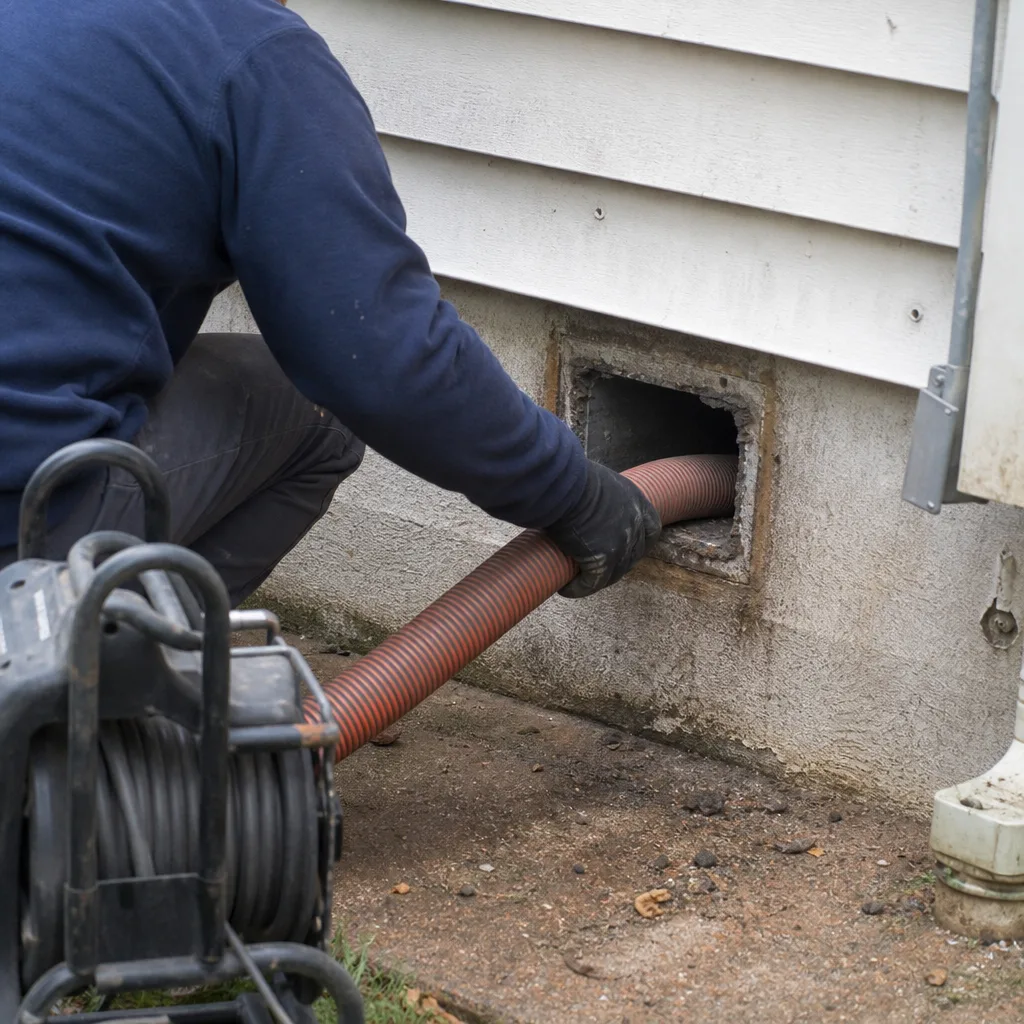 Before
 After
After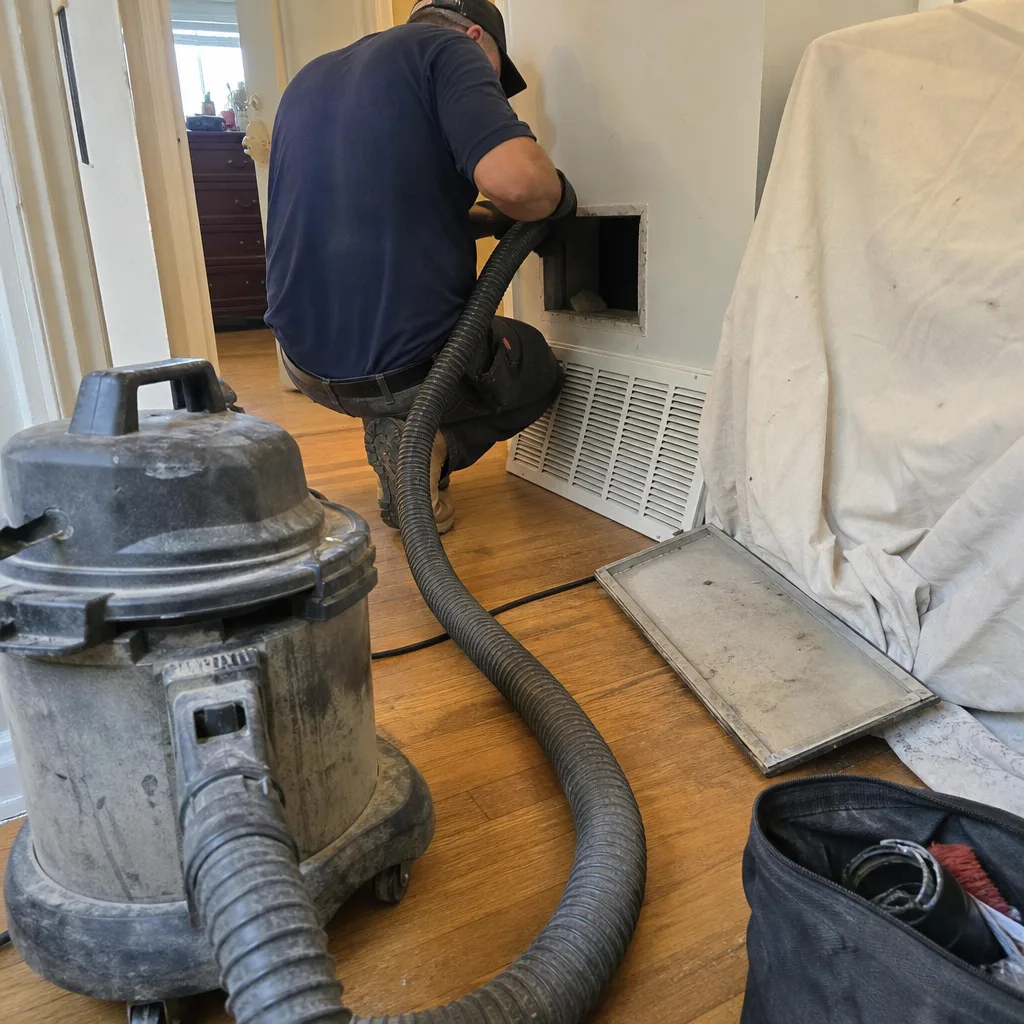 Before
 After
After