
Last updated October 15, 2026
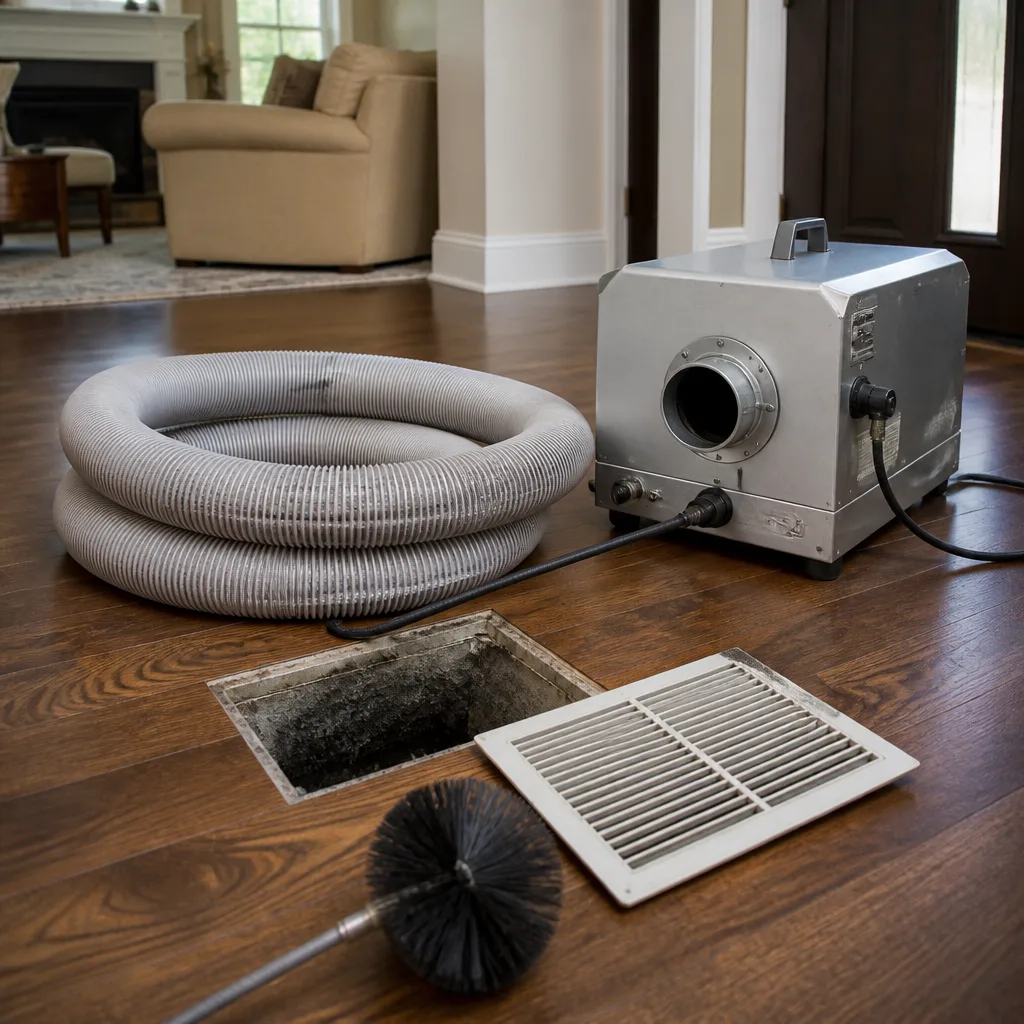 Whole-home duct cleaning
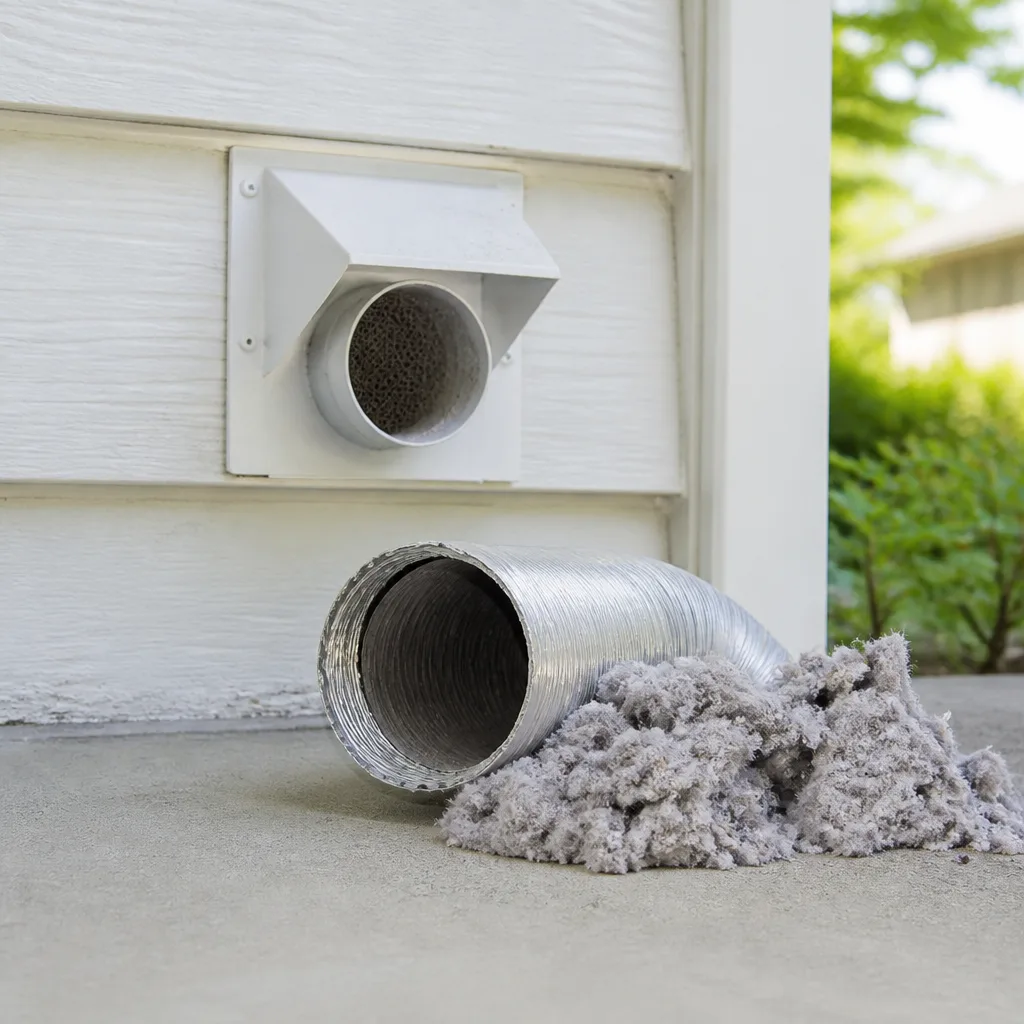 Dryer vent cleaning
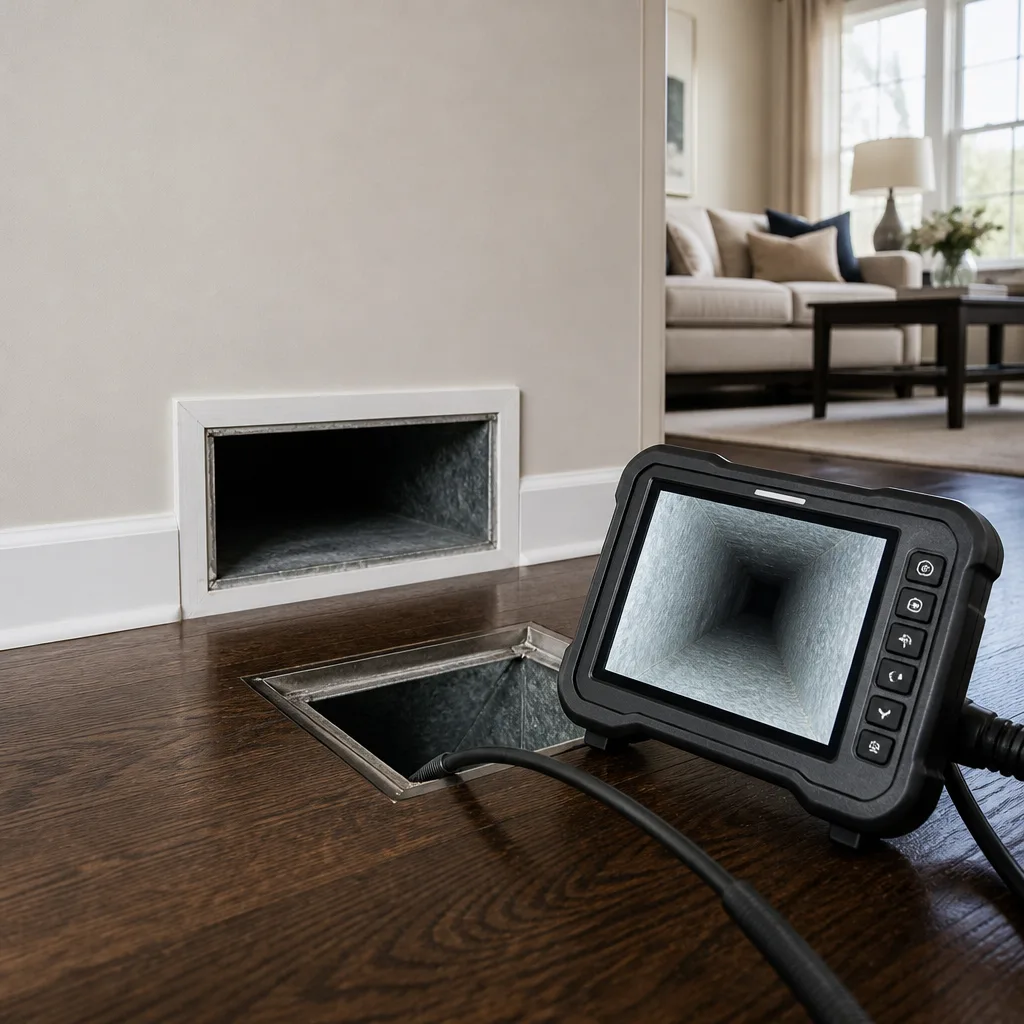 Camera inspection
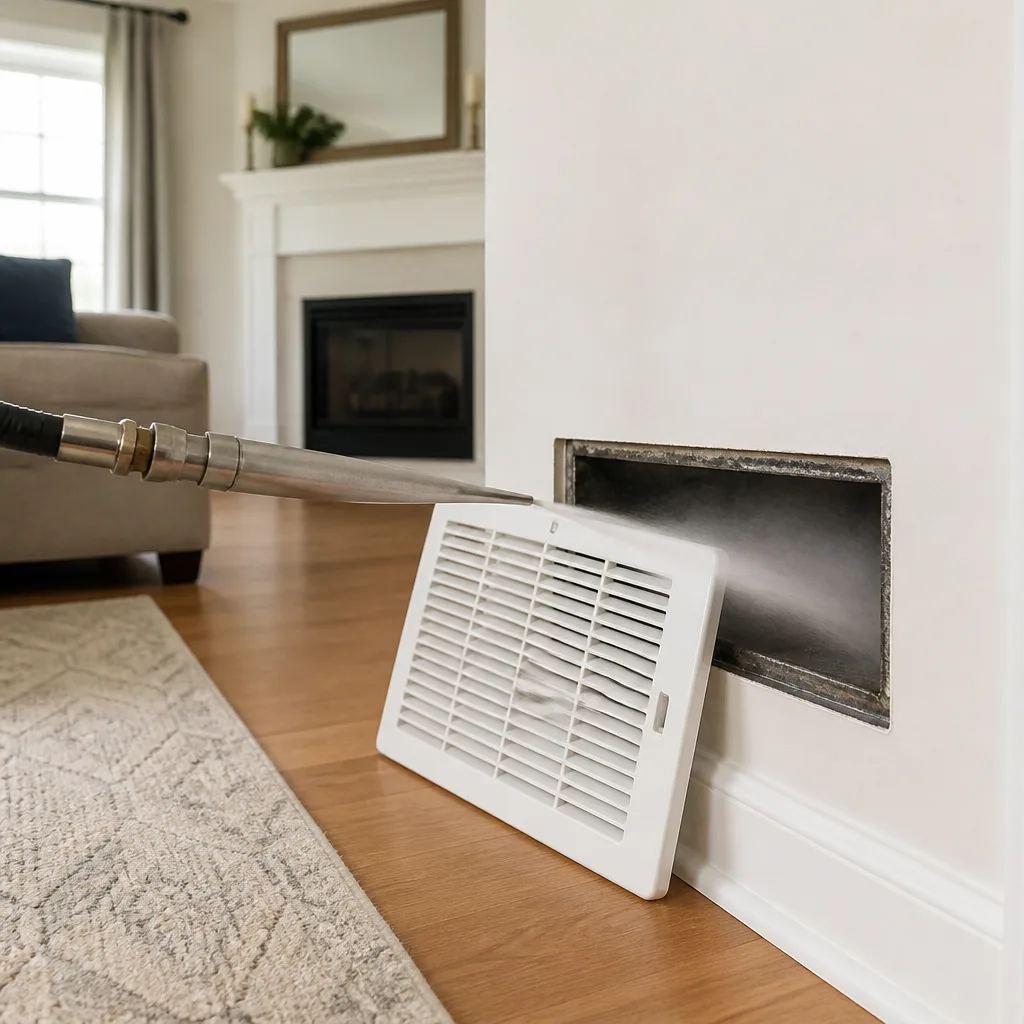 Sanitizing & deodorizing
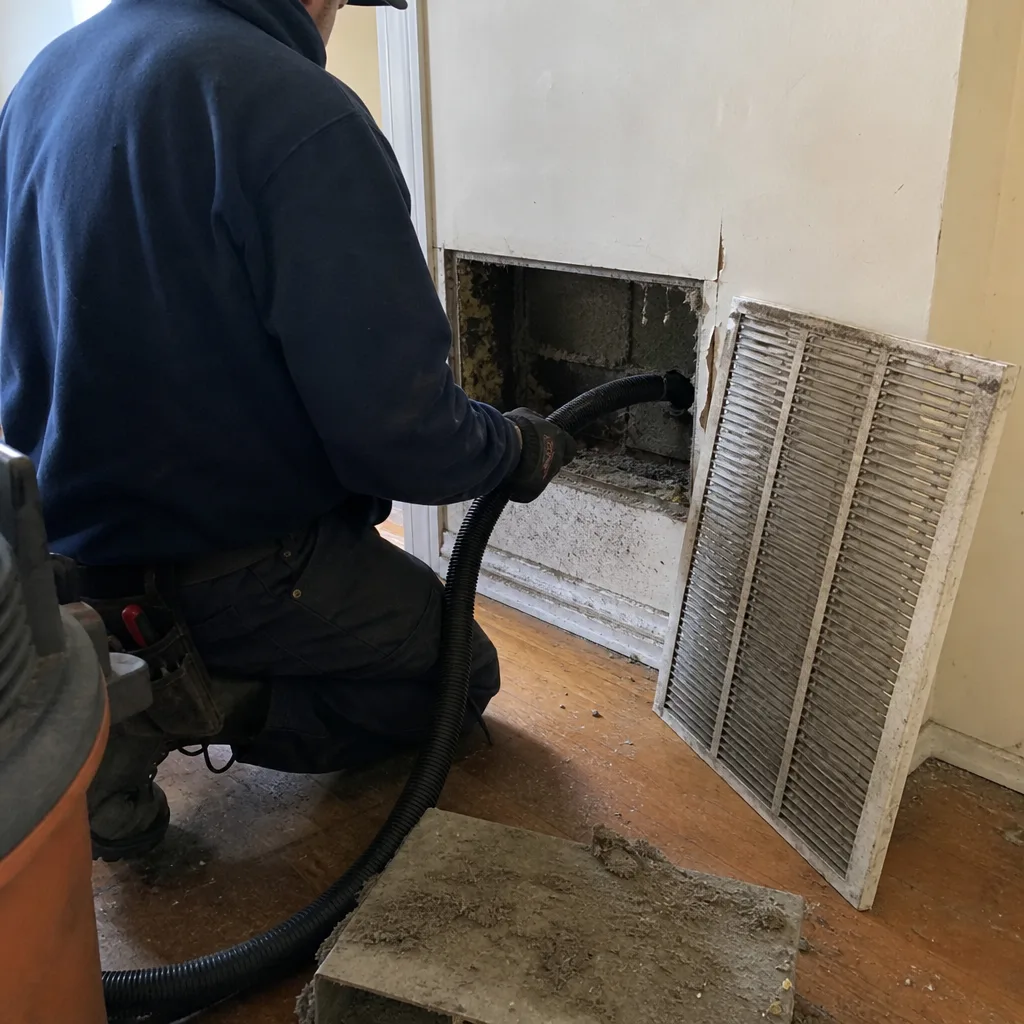
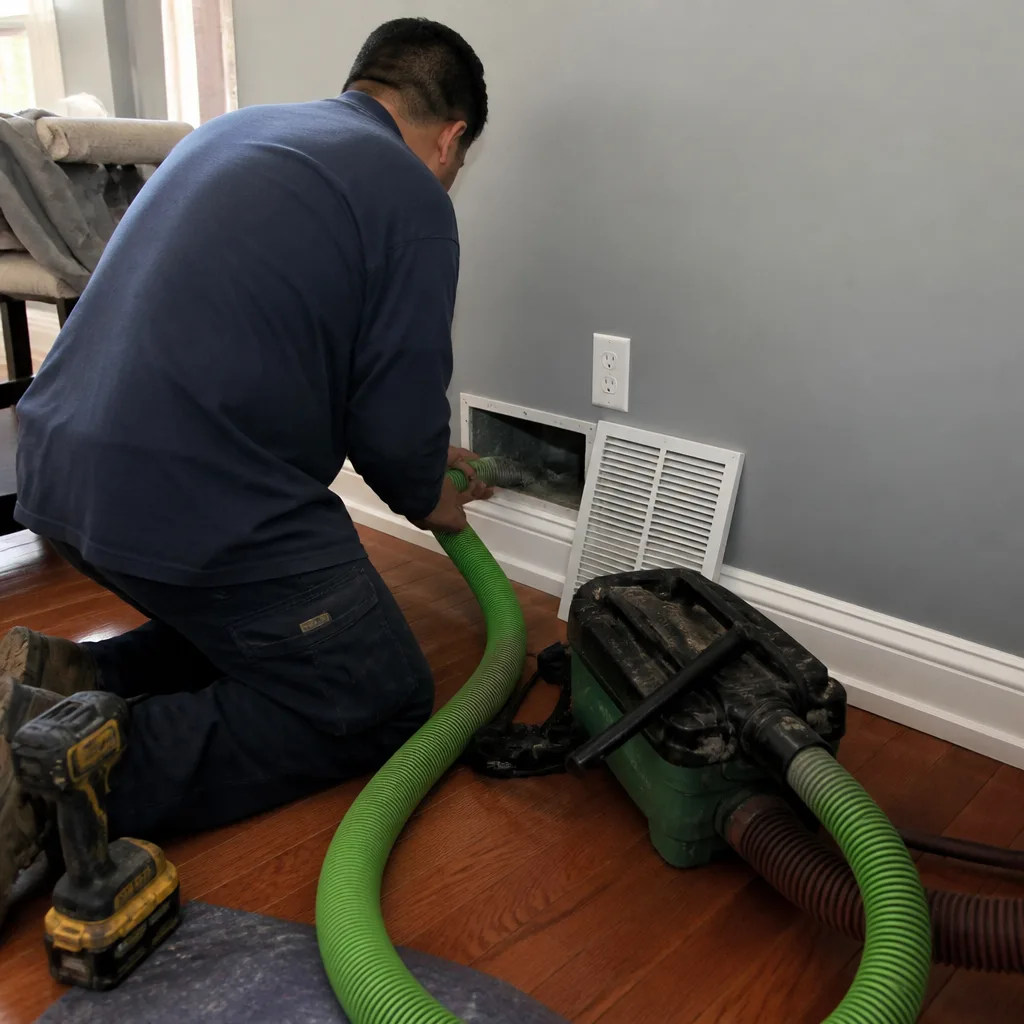
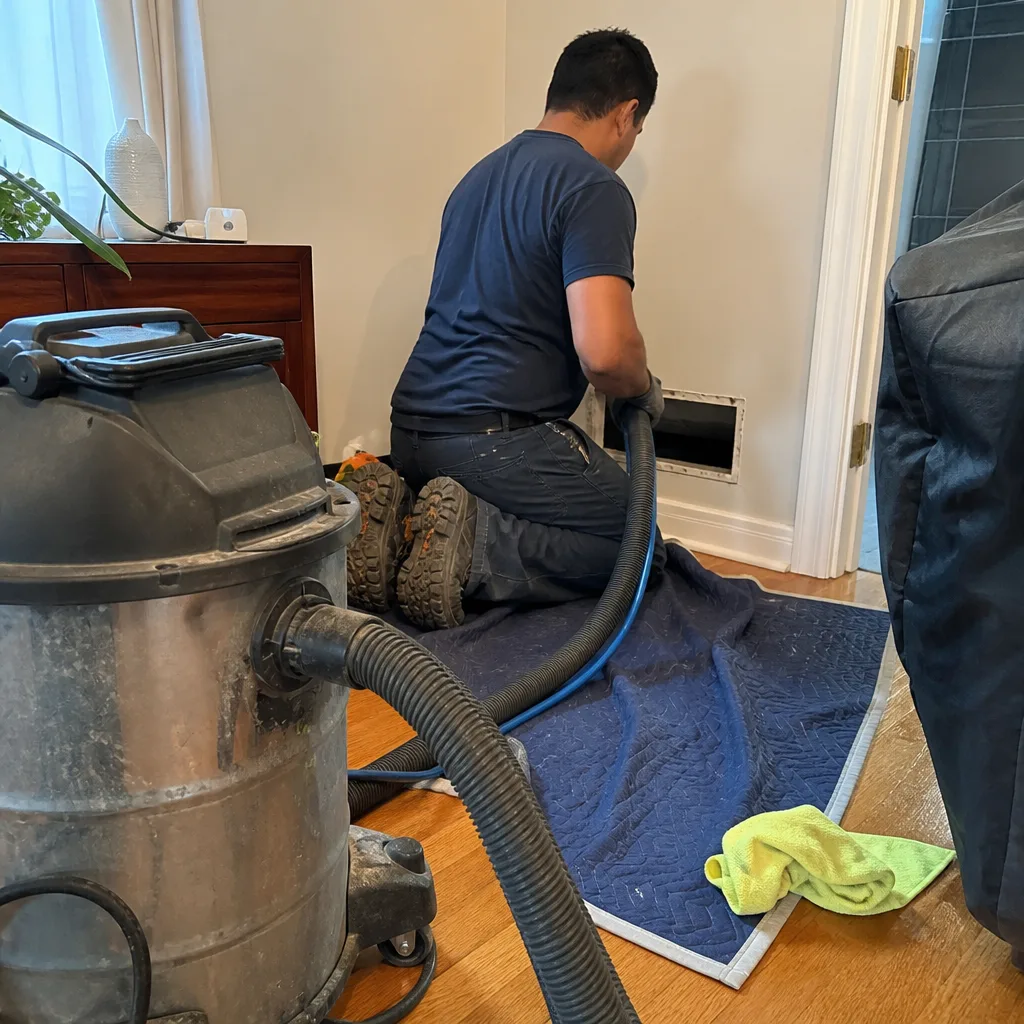
Whole-system duct and dryer vent check with before-and-after photos - you see exactly what came out of your vents
That "$99 whole-house special" is a bait ad - the real number appears once they are in your hallway, or the "clean" is a shop-vac at the register. We photograph the inside of your ducts before and after instead.
Air Duct Cleaning Maintenance Checklist for Queens Homeowners
Most duct maintenance checklists tell you to change your filter every 90 days. That’s fine advice that misses every meaningful signal your system is actually sending. In Queens, where row houses share walls, prewar buildings carry decades of accumulated dust, and AC units strain through humid summers, the real value of a checklist is diagnostic: it teaches you to read what your ducts are telling you. This guide gives you a room-by-room inspection routine, filter-reading criteria, Queens-specific seasonal triggers, and a documentation method that gives you a baseline when any contractor hands you a scope of work. It’s written from what we’ve seen in thousands of Queens homes since 2004: the difference between a minor dust issue and an early warning sign is rarely obvious until someone teaches you what to look for.
Quick Answer
A practical air duct maintenance checklist for Queens homeowners has four parts: change or inspect your filter every 30-60 days depending on household size and pets, do a quarterly room-by-room register inspection covering what you see, smell, and hear, document your findings with photos and notes so you have a baseline, and act immediately on moisture, mold odor, pest evidence, or sudden dust spikes. Most Queens homes should schedule professional air duct cleaning every 3-5 years, but specific conditions like post-renovation dust, neighbor construction, or respiratory symptoms can justify a service call sooner.
Styles & brands we work with
Table of Contents
- Filter Inspection: What Debris Type Reveals
- The Quarterly Room-by-Room Register Inspection
- Queens Seasonal Checklist Triggers
- Documenting Duct Condition: Building Your Baseline
- Monitor vs. Call: Reading the Warning Signs
- Common Mistakes to Avoid
- When to Call a Professional
- Frequently Asked Questions
Filter Inspection: What Debris Type Reveals
Change your filter on a schedule, yes, but before you toss it, look at it. The filter is a capture device, and what it captures is a sample of what’s moving through your air. In Queens homes, we’ve learned to read filters the way a mechanic reads a spark plug. The type and color of debris on a used filter tells you more than whether it’s simply “dirty.”
How to Read Your Used Filter
- Fine gray dust, evenly distributed: This is normal in Queens. Traffic particulate, skin cells, and fabric fibers from bedding and upholstery. It means your system is doing its job. Replace and move on.
- Dark gray or black soot-like coating: Common near the BQE, Cross Island Parkway, or any high-traffic corridor. This is combustion particulate from vehicle exhaust. In homes with attached garages or older oil-burner systems, it can also indicate a combustion issue worth investigating. Heavy soot on an otherwise fresh filter means your ducts are pulling outdoor air from somewhere.
- Chunky debris, visible hair, or large particles: If your filter is catching visible debris, your return ducts are pulling unfiltered air from a dirty source, often a crawlspace, basement, or the space behind walls. This is a sign the return air path needs attention, not just the filter.
- Damp or discolored patches, especially brownish rings: Moisture is reaching the filter. In Queens, this often comes from a clogged condensate drain line during humid summer months, or from a humidifier set too high in winter. A damp filter is a mold risk and needs immediate attention.
- Construction dust, including fine white or beige powder: If you’ve renovated, or a neighbor has, expect this. But if you haven’t done construction and you’re seeing drywall dust, it means your duct system has a gap pulling air from wall cavities or an adjoining unit. In attached housing, this is more common than people realize.
Filter Frequency for Queens Homes
The “every 90 days” rule fails here for several reasons. Queens has above-average particulate matter compared to less dense areas, especially along major arteries like Northern Boulevard, Queens Boulevard, and the Van Wyck. If you live within a quarter mile of one of these, halve the interval. Pets drop significant dander in small apartments. Households with two or more cats or a dog should check the filter monthly. Window AC units supplementing central air push extra dust through the living space that eventually reaches the return. Our general guidance: a 1-inch fiberglass filter every 30 days, a 4-inch pleated filter every 60-90 days, and a monthly look regardless of what the packaging says.
When you find yourself replacing filters more often than the schedule above, or the filter is loaded before its time, your ducts are likely overloaded. That’s the point where a professional air duct cleaning in Queens is worth considering, because the system itself, not the filter, is the issue.
The Quarterly Room-by-Room Register Inspection
You don’t need any tools for this. You need ten minutes, a flashlight, and your phone camera. Do this four times a year, at the start of each season. The goal is to check every supply register and return grille in your home, room by room. This is the same visual inspection we perform on every duct cleaning job in Queens, and it catches most problems before they become expensive.
Step 1: Look at the Register
Remove the register cover if it’s easily removable, or shine your flashlight through the louvers. Look for: dust accumulation on the inside of the register, visible debris in the duct opening, dark stains around the register face that indicate soot or moisture, and any rust on metal registers. A light, even coating of dust is normal. A thick, gray, felt-like accumulation that looks like dryer lint is not. That’s a sign the duct interior has a heavy buildup that’s breaking loose and depositing at the registers.
Step 2: Smell the Airflow
Turn the system fan to “on” at the thermostat, then get your nose close to each register with the fan running. A dusty or stale odor is normal-ish, especially after a period of disuse. A musty, mildewy, or “wet socks” smell is a moisture and mold signal, and it should be investigated by a professional. An oily or combustion smell near the mechanical room in a Queens basement is a different concern, potentially related to your heating equipment, and should be addressed by an HVAC technician immediately, not by duct cleaning.
Step 3: Listen at Each Register
With the fan running, listen for: a rattling sound that suggests a loose register, a whistling that suggests an undersized or partially blocked register, and a change in airflow volume from room to room. One weak register in an otherwise strong system often means that particular duct run is damaged, disconnected, or crushed. In Queens row houses where duct runs travel through walls shared with neighbors, a crushed or disconnected run in a wall cavity is a common issue, and it’s fixable through air duct repair service.
Step 4: Check the Return Grilles
The return side of your system pulls air from your living space back to the furnace or air handler. In Queens apartments and attached homes, return grilles are often located in hallways or on walls and get neglected. Check the backside of the return grille: if it’s caked with dust, that’s the first thing the air you’re breathing passes through. Also check whether return grilles are blocked by furniture, drapes, or stored items. Blocked returns cause the system to work harder, increase negative pressure in the home, and pull air from unfiltered paths like wall cavities, which introduces construction dust and insulation particles.
Step 5: Document Everything
Photograph each register, both the grille face and what you can see inside the duct opening. Save these to a folder on your phone with the date. Do not skip this step, because it’s the thing that makes everything else actionable. A year of photos gives you an irrefutable record of whether a problem is static or worsening, which changes whether you need a cleaning or a repair. We’ll cover this in more depth below.
Queens Seasonal Checklist Triggers
Queens has four distinct seasons, an ocean-influenced summer humidity, and a housing stock that ranges from 1920s brick attached homes to post-war apartment buildings and newer construction. Each season creates different duct conditions, and your checklist should change with the calendar. Here is the seasonal rhythm we’ve observed in Queens homes since 2004.
Post-Winter / Early Spring (March – April)
- Heating season shutdown: After months of forced-air heat, the duct interior is at its driest and dust is at its most mobile. This is the best time for professional duct cleaning in Queens, because you’re clearing out everything the heating season pushed through the system before the AC season begins.
- Humidifier check: If you ran a whole-home humidifier during winter, check the humidifier pad and the duct area around it for mineral buildup and dampness. Mineral dust from humidifiers is a common Queens duct contaminant and it can cake onto duct walls.
- Condensate line check: As the first warm days arrive and your AC kicks on, check the condensate drain line. A clogged line in a humid Queens spring is the single most common cause of water damage around air handlers, and the standing water it creates inside the air handler is a mold source.
Pre-Summer / Early AC Startup (May – June)
- First-cooling-day smell test: The first time your AC runs in late spring, stand by a register and breathe. The “dirty sock” smell many Queens homeowners notice is a well-known phenomenon in AC systems, caused by microbial growth on the evaporator coil. It’s distinct from duct dust and requires coil cleaning, not just duct cleaning. If you smell it, mention it when you call for service.
- Filter upgrade for summer: Consider switching to a higher-MERV filter for the cooling season if your system can handle the pressure drop. Queens summer air carries more pollen and more humidity-driven particulate. Check with an HVAC professional before jumping to a high-MERV filter, because an overly restrictive filter can strain an older blower motor.
- Window unit transition: If you run window ACs in some rooms alongside central air, the dust burden on your central system changes. Window units don’t filter as effectively, and the rooms they cool shed dust into the adjacent spaces that the central system then pulls through the returns.
Post-Renovation / Post-Construction (Any Season)
- After your own renovation: Even small Queens kitchen or bath renovations generate fine drywall dust, wood dust, and debris. Some of it inevitably enters the duct system. If you renovate, schedule duct cleaning after the work is complete and the construction dust has settled, not before. This is one of the most common post-renovation mistakes we see.
- After a neighbor’s construction: In attached and semi-attached Queens housing, a neighbor’s renovation can push dust into your home through shared wall cavities, especially if your system has any return leaks. Pay attention for a sudden increase in construction-type dust in your registers without any work in your own home.
- After building-wide work: Co-op and condo buildings in Queens frequently do facade work, roof work, or hallway renovation. Schedule a register check within a week of any building-wide construction starting.
Pre-Winter / Fall (October – November)
- Heating season startup burn-off: The first time your furnace fires up in fall, a faint burning smell for a few hours is normal, as dust that settled on the heat exchanger burns off. A smell that persists beyond a day, or a smell of gas, is not normal and requires immediate professional attention.
- Seal air leaks: Fall is a good time to check for air leaks around registers and returns, especially in older Queens homes. Loose or poorly sealed registers pull unconditioned air from wall cavities and unconditioned spaces, which contaminates the airstream.
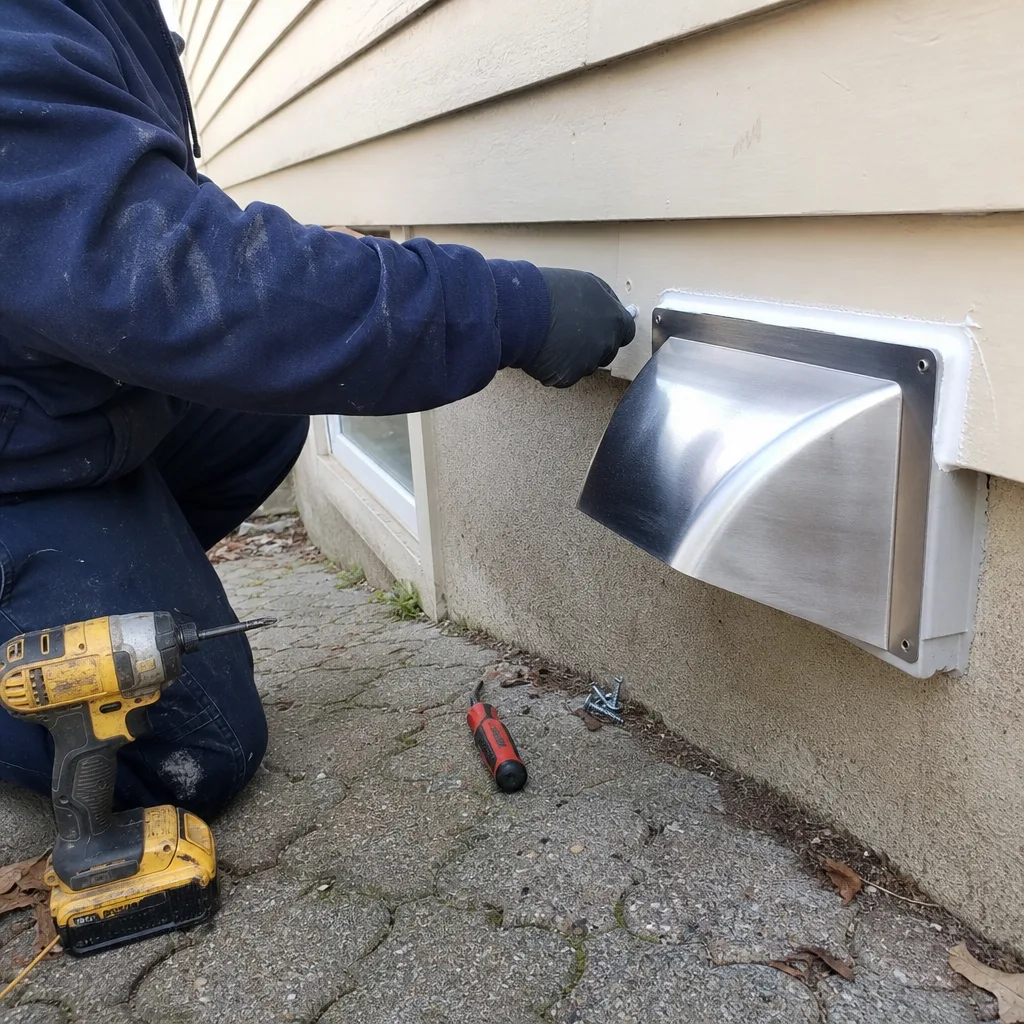
- Dryer vent check: As you transition to more indoor drying time in winter, a clogged dryer vent becomes both a fire hazard and a humidity source. We cover dryer vent issues separately, but include a visual check of the exterior dryer vent flap in your fall routine. For a thorough inspection and cleaning, see our dryer vent cleaning service in Queens.
Documenting Duct Condition: Building Your Baseline
Here’s the single most useful habit we can teach you, and it’s the one almost nobody does. Document your duct condition over time so you have a record. Without a baseline, you’re evaluating duct condition from memory, and memory is unreliable. With a baseline, you can answer the question “has this gotten worse?” with facts instead of impressions. This matters when a contractor gives you a scope of work, because “your ducts are very dirty” means nothing if you don’t know what they looked like six months ago.
The Simple Documentation Method
- Choose a consistent day: The first weekend of each season. March, June, September, December. Consistency is more important than the specific date.
- Photograph each register and return with your phone. Use the same angle and the same flash setting each time. If your phone tags photos with location, even better.
- Note the filter condition in a simple note: date, filter age in days, and a one-word description of the debris type using the five categories from the filter inspection section above.
- Note any smell or sound observations from your quarterly inspection. One sentence is enough: “July: faint musty smell at living room register, didn’t notice in April.”
- Store everything in a dedicated album or folder on your phone or cloud storage. Label it “Ducts” and put the date in the file name. It takes five minutes per quarter.
After a year, you have four data points per register. After two years, eight. When a contractor says “your ducts are contaminated and need cleaning,” you can open your folder and see whether the register has looked the same for two years or whether there’s a visible change. If there’s no visible change, the honest conversation is different from the one that happens when a register has visibly degraded over six months. You’ll also have photo evidence if you ever need to show a contractor what a register looked like before a recent change, which is especially relevant if you’re in a co-op or condo situation where building-wide work affected your unit.
Monitor vs. Call: Reading the Warning Signs
Your checklist findings fall into three categories: normal and expected, worth monitoring, and call a professional this month. The distinction matters, because acting on the wrong category wastes money and ignoring the right category allows small problems to become expensive ones. Here’s how to sort what you find.
Normal and Expected: Monitor and Continue Your Routine
- Light, even dust on register faces after a month of normal operation
- Filter loaded with fine gray dust at the expected interval
- A faint “dusty” smell when the system first starts after a period of disuse
- Some rooms slightly warmer or cooler than others, consistent from season to season
Worth Monitoring: Watch for Worsening, Document Carefully
- One register accumulating dust faster than others in the same system
- A filter that’s loading faster than the expected interval, but not dramatically so
- Intermittent musty smell that appears only in humid weather and clears with drier conditions
- Visible dust inside the duct opening, but no accompanying smell or airflow change
Call a Professional This Month
- Persistent musty or mildew smell that does not resolve in dry weather. This indicates moisture in the duct system or on the coil, and it will not resolve on its own.
- Sudden dust explosion: A dramatic increase in dust settling on furniture and accumulating at registers within a short period, especially after construction, either yours or a neighbor’s.
- Evidence of pests: Rodent droppings, insect carcasses, or nesting material visible in duct openings. Pest activity in ducts in Queens row houses and older buildings is more common than people want to think.
- Visible mold growth on register faces, inside duct openings, or on insulation around ducts. If you can see it, the visible portion is typically a small fraction of what’s present.
- One room with dramatically reduced airflow compared to the rest of the home, especially if it developed suddenly. This often indicates a disconnected or crushed duct run, which is a repair issue more than a cleaning issue.
- Respiratory symptoms that worsen at home and improve when away, in combination with any of the above. Air quality problems don’t always announce themselves visually.
If you’re seeing any of the “call this month” signals, the next step is an honest assessment from a professional who starts with the same kind of inspection we’ve described here. Linden Air Duct Queens offers free estimates in Queens, and our technicians begin every visit with the same register-by-register visual inspection this guide teaches you, because it’s the right way to do the job.
Common Mistakes to Avoid
- Assuming a clean filter means clean ducts: Your filter captures what passes through it. Dust that’s settled inside the ducts upstream or downstream of the filter stays there until it’s physically removed. A clean filter doesn’t tell you anything about duct interior condition.
- Running the fan constantly with dirty ducts: Many Queens homeowners run their fan on “on” instead of “auto” for better air circulation, which is fine, unless the ducts are heavily loaded. Constant fan operation keeps more dust airborne. Clean the ducts, then run the fan continuously with confidence.
- Closing registers in unused rooms: In Queens apartments and smaller homes, closing registers in unused rooms seems logical but increases static pressure in the system, which forces air through smaller openings and can push dust through gaps. In attached housing with shared systems, it also unbalances airflow in ways that affect neighbors.
- Ignoring the dryer vent: The dryer vent is part of your home’s air system, and in Queens homes where the dryer is often located in a basement or interior room, longer vent runs accumulate lint faster. A clogged dryer vent pushes humid, lint-laden air into the living space, compounding every duct problem you have. Our dryer vent cleaning in Queens service addresses this specifically.
- Waiting for visible mold to call: By the time mold is visible on a register or grille, the active growth has been present for weeks or months. Musty odor is an earlier signal, and it’s cheaper to address early. The threshold for action should be smell, not sight.
- Treating filter replacement as the only maintenance task: The filter is one component in a system that includes the coil, the blower, the duct runs, the returns, and the registers. A maintenance checklist that starts and ends with the filter is a maintenance checklist that misses most problems.
When to Call a Professional
Call when your quarterly checklist turns up something you can’t explain with normal operation. A musty smell that persists, a room with suddenly weak airflow, evidence of pests, post-construction dust that won’t clear, or a filter that’s loading in half the expected time are all legitimate reasons to bring in a professional. The inspection should be thorough, it should be visual, and it should produce a clear explanation of what was found and what the options are. At Linden Air Duct Queens, we do the same inspection this guide describes, we document findings in writing, and we give you a written price before any work begins. If you’re in Queens and you’re seeing warning signs, call (845) 237-0925 for a free estimate. We’ll tell you honestly whether you need cleaning, repair, or nothing at all.
Frequently Asked Questions
Most Queens homes benefit from professional air duct cleaning every 3 to 5 years, but the real answer depends on what your checklist is telling you. Homes along major traffic corridors, homes with multiple pets, and homes with recent renovation history may need cleaning every 2 to 3 years, while a newer construction home with good filtration and no pets might go 5 years or more. Let your quarterly inspection findings, not a calendar, drive the decision. Call (845) 237-0925 if you’re unsure whether what you’re seeing justifies a cleaning.
Air duct cleaning in Queens typically runs between $350 and $750 for an average single-family home, depending on the number of systems, the accessibility of the ductwork, and the level of contamination present. Attached homes and apartments with a single system generally fall at the lower end of that range, while larger homes and heavily contaminated systems run higher. We put our price in writing before any work begins, so there are no surprises at the end of the job. Call (845) 237-0925 for an exact quote.
You look at the evidence: registers accumulating visible dust inside the duct opening, a filter that’s loading faster than expected, dust settling on furniture shortly after cleaning, and any musty odor from the registers. You can also remove a register cover and use a phone camera with the flash on to photograph the duct interior. If the photos show a thick coating on the duct walls, you have your answer, and you’ll also have documentation for comparison.
Cleaning your ducts can improve airflow and reduce the burden on your blower motor, which may translate into a modest efficiency improvement, but the air quality benefit is usually the bigger win. In our experience with Queens homes, the most measurable benefit from duct cleaning is usually relief from dust, odor, and allergy symptoms, not a dramatic drop in utility bills. If energy efficiency is your primary concern, an HVAC tune-up and sealing leaks in the duct system will likely move the needle more than cleaning alone.
Yes, for many people, cleaning the ducts removes a reservoir of dust, pollen, pet dander, and other allergens that get recirculated through the home every time the system runs. Queens has a long pollen season, and attached housing means allergen sources from neighboring units can enter your system. The benefit is most noticeable in homes where the ducts haven’t been cleaned in years and where residents have documented respiratory symptoms that improve when they’re away from home.
Duct cleaning addresses the HVAC system’s supply and return ductwork, while dryer vent cleaning addresses the dedicated exhaust duct that runs from your clothes dryer to the outdoors. They’re separate systems with separate problems, lint accumulation in the dryer vent and dust and debris accumulation in the HVAC ducts, and both are worth maintaining. Linden Air Duct Queens provides both air duct cleaning and dryer vent cleaning in Queens.
The Bottom Line
A duct maintenance checklist is only as useful as the person using it. Change your filter on a real schedule, inspect every register seasonally, and document everything so your observations actually accumulate into something useful. Most importantly, learn to read what you’re seeing: your filter and registers are diagnostic tools, and the debris type, odor character, and airflow patterns each tell a specific story. When the story says something’s wrong, call a professional who’ll inspect honestly, price clearly, and stand behind the work. We’re Linden Air Duct Queens and we’ve been serving Queens since 2004. If you’d like a free estimate, call (845) 237-0925.
Written by Marcus Veale, Owner at Linden Air Duct Queens, serving Queens since 2004.
See the difference
 Before
 After
After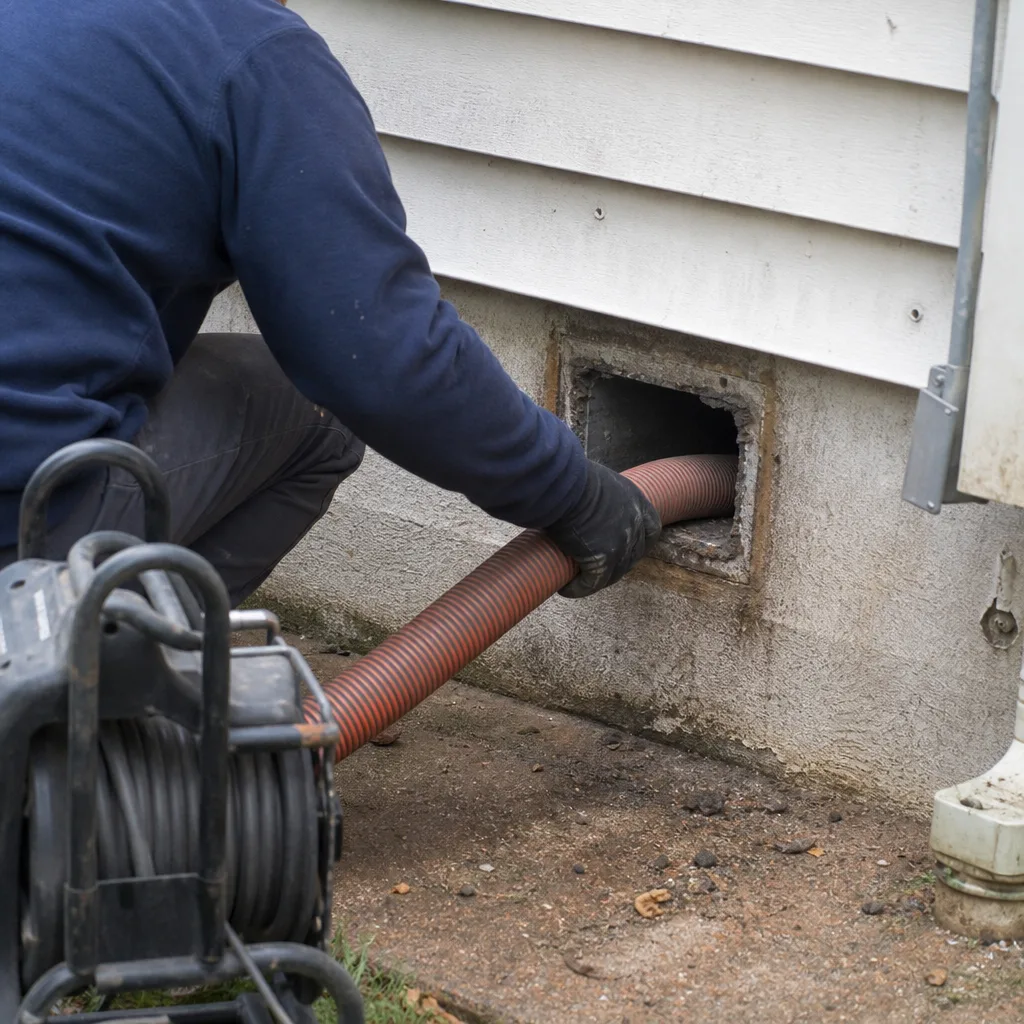 Before
 After
After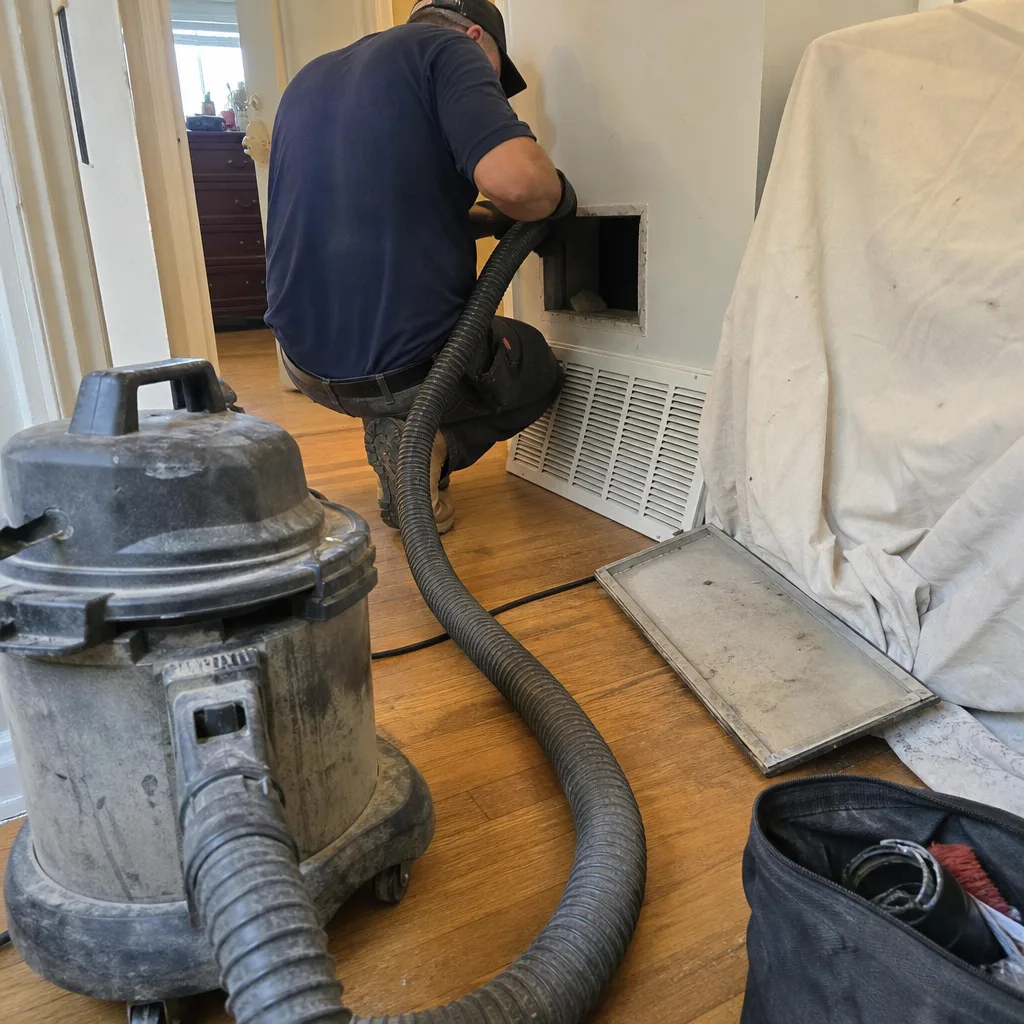 Before
 After
After